I think it probably has been over a year since I have created something for my shop. Sad, but justified. Having a baby doesn't leave you with a lot of extra free time. Not just with our very active and growing little girl, but with a very active, strong willed, almost five year old boy!
Lately, I have felt a spurt of inspiration and I am going to try to hang on to it! Yesterday, I did some creating. Quite a bit actually. And decided to actually list something on my shop! Whew!
Hopefully I can keep the momentum going and not let the fire go out! To check out the listing click here!
Have a wonderful day all!
Showing posts with label Craft. Show all posts
Wednesday, February 27, 2013
Thursday, September 20, 2012
Filling a Void
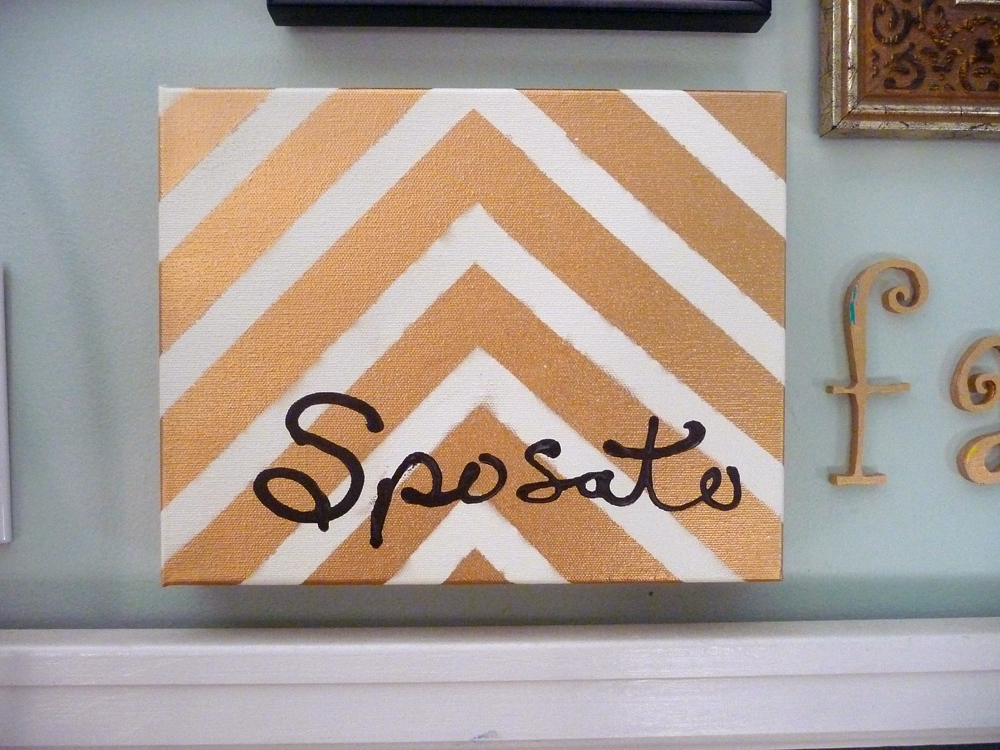
I have been looking for something to fill a void in my family gallery wall. I didn't really have another picture to put up so I was thinking something more artistic. I decided to do a small canvas with our name on it. I had some cream and gold spray paint already so, I started taping off the canvas. {It is kind of ironic that most of the overall tone of the wall is gold, I never liked gold.}
I have to say doing things like this with kids around is a bit tricky. Note my 'S'. I am not very happy with it, but that is what happens when your four year old son decides to touch it while it is drying. He said he thought it was chocolate. Right. Ah, well. It adds character.
I think overall it turned out great. It adds another element to the wall. It ties in perfect with everything else and was simple and easy to make.
Tuesday, September 18, 2012
Tube Monsters
For some reason our son has a hang up on monsters. Not sure where that came from, but he likes anything monster related. So, the other day {W} and daddy created some monsters out of toilet paper roll tubes. Super easy, yet be warned. When crafing with daddy, things tend to be VERY messy. At least in my experience. But, fun nonetheless.
What you will need is:
Toilet Paper Tube
Paint
Googly Eyes
Fine Tip Marker
Glue Stick
What you will need is:
Toilet Paper Tube
Paint
Googly Eyes
Fine Tip Marker
Glue Stick
Take your toilet paper tubes and pinch the top together to for two pointy ears. Then paint the tubes.
After the paint has dried take a glue stick and glue your googly eyes on then draw a face using the fine tip marker.
In no time at all you can create your very own monster family! Enjoy!
Tuesday, February 7, 2012
The "Long Distance" Hug
Looking for something fun to do with my son, I came across the inspiration I needed on Pinterest . {This seems to be a reoccurring theme with me!} I found the idea of the "Long Distance" Hug from tonsoffunpreschoolactivities.blogspot.com and revamped it a little.
This caught my eye as a terrific way to send some love to his Nana Great who lives in Oklahoma. Many, many states away!
I used:
This caught my eye as a terrific way to send some love to his Nana Great who lives in Oklahoma. Many, many states away!
I used:
- Multipurpse paper
- Scrapebooking paper
- Finger paint
- Balers twine
- Glue {I used E-6000 because that is all I have, believe it or not.}
![]() |
| {the "Long Distance" Hug} |
It was kind of funny when I put the paint on his hands. He gave me a look like he wasn't sure we should be doing this. {You know, paint stays on the paper!} He was game though and washed it off right a way.
After waiting for the hand prints to dry I cut them out and glued them onto scrapbook paper I had doubled over for durablity as well as keeping the back side from being stark white.
I added the baler twine by gluing the ends in between the papers instead of just taping them to the back side. Then voila! The perfect "Hug" to help close the gap between loved ones!
Enjoy!
Tuesday, May 31, 2011
Pine Cones
I was outside enjoying the sunshine when my son started bringing me pine cones that he had found on the ground. I got to looking at them and thinking, "These would make a really neat center piece." So we went on to gather a grocery sack full of pine cones together.
I bought some white spray paint and started painting. After painting some of them white I noticed that the white with the natural color of the pine cones looked nice together giving a warm and charming look.
Then I went on to do an all white arrangement which has a sort of shabby chic look.
These are a great way to bring the outdoors in for anyone who loves nature. They add a new dimension to center pieces and character.
I plan on doing other assortments and eventually adding scents for potpourri. So far these two assortments are available for purchase at my shop. You can click on The ArtisTree on the left under the heading My Shop!
Enjoy!
Labels:
Craft,
DIY,
Pine Cones
Subscribe to:
Posts (Atom)